Step 1: Accident Information & Photos
Record when and where the accident happened, your vehicle, the damage area, and capture the 8 required photo angles.
Step 1 captures when and where the accident happened, your driver details, the vehicle you were operating, and the 8 required photos.
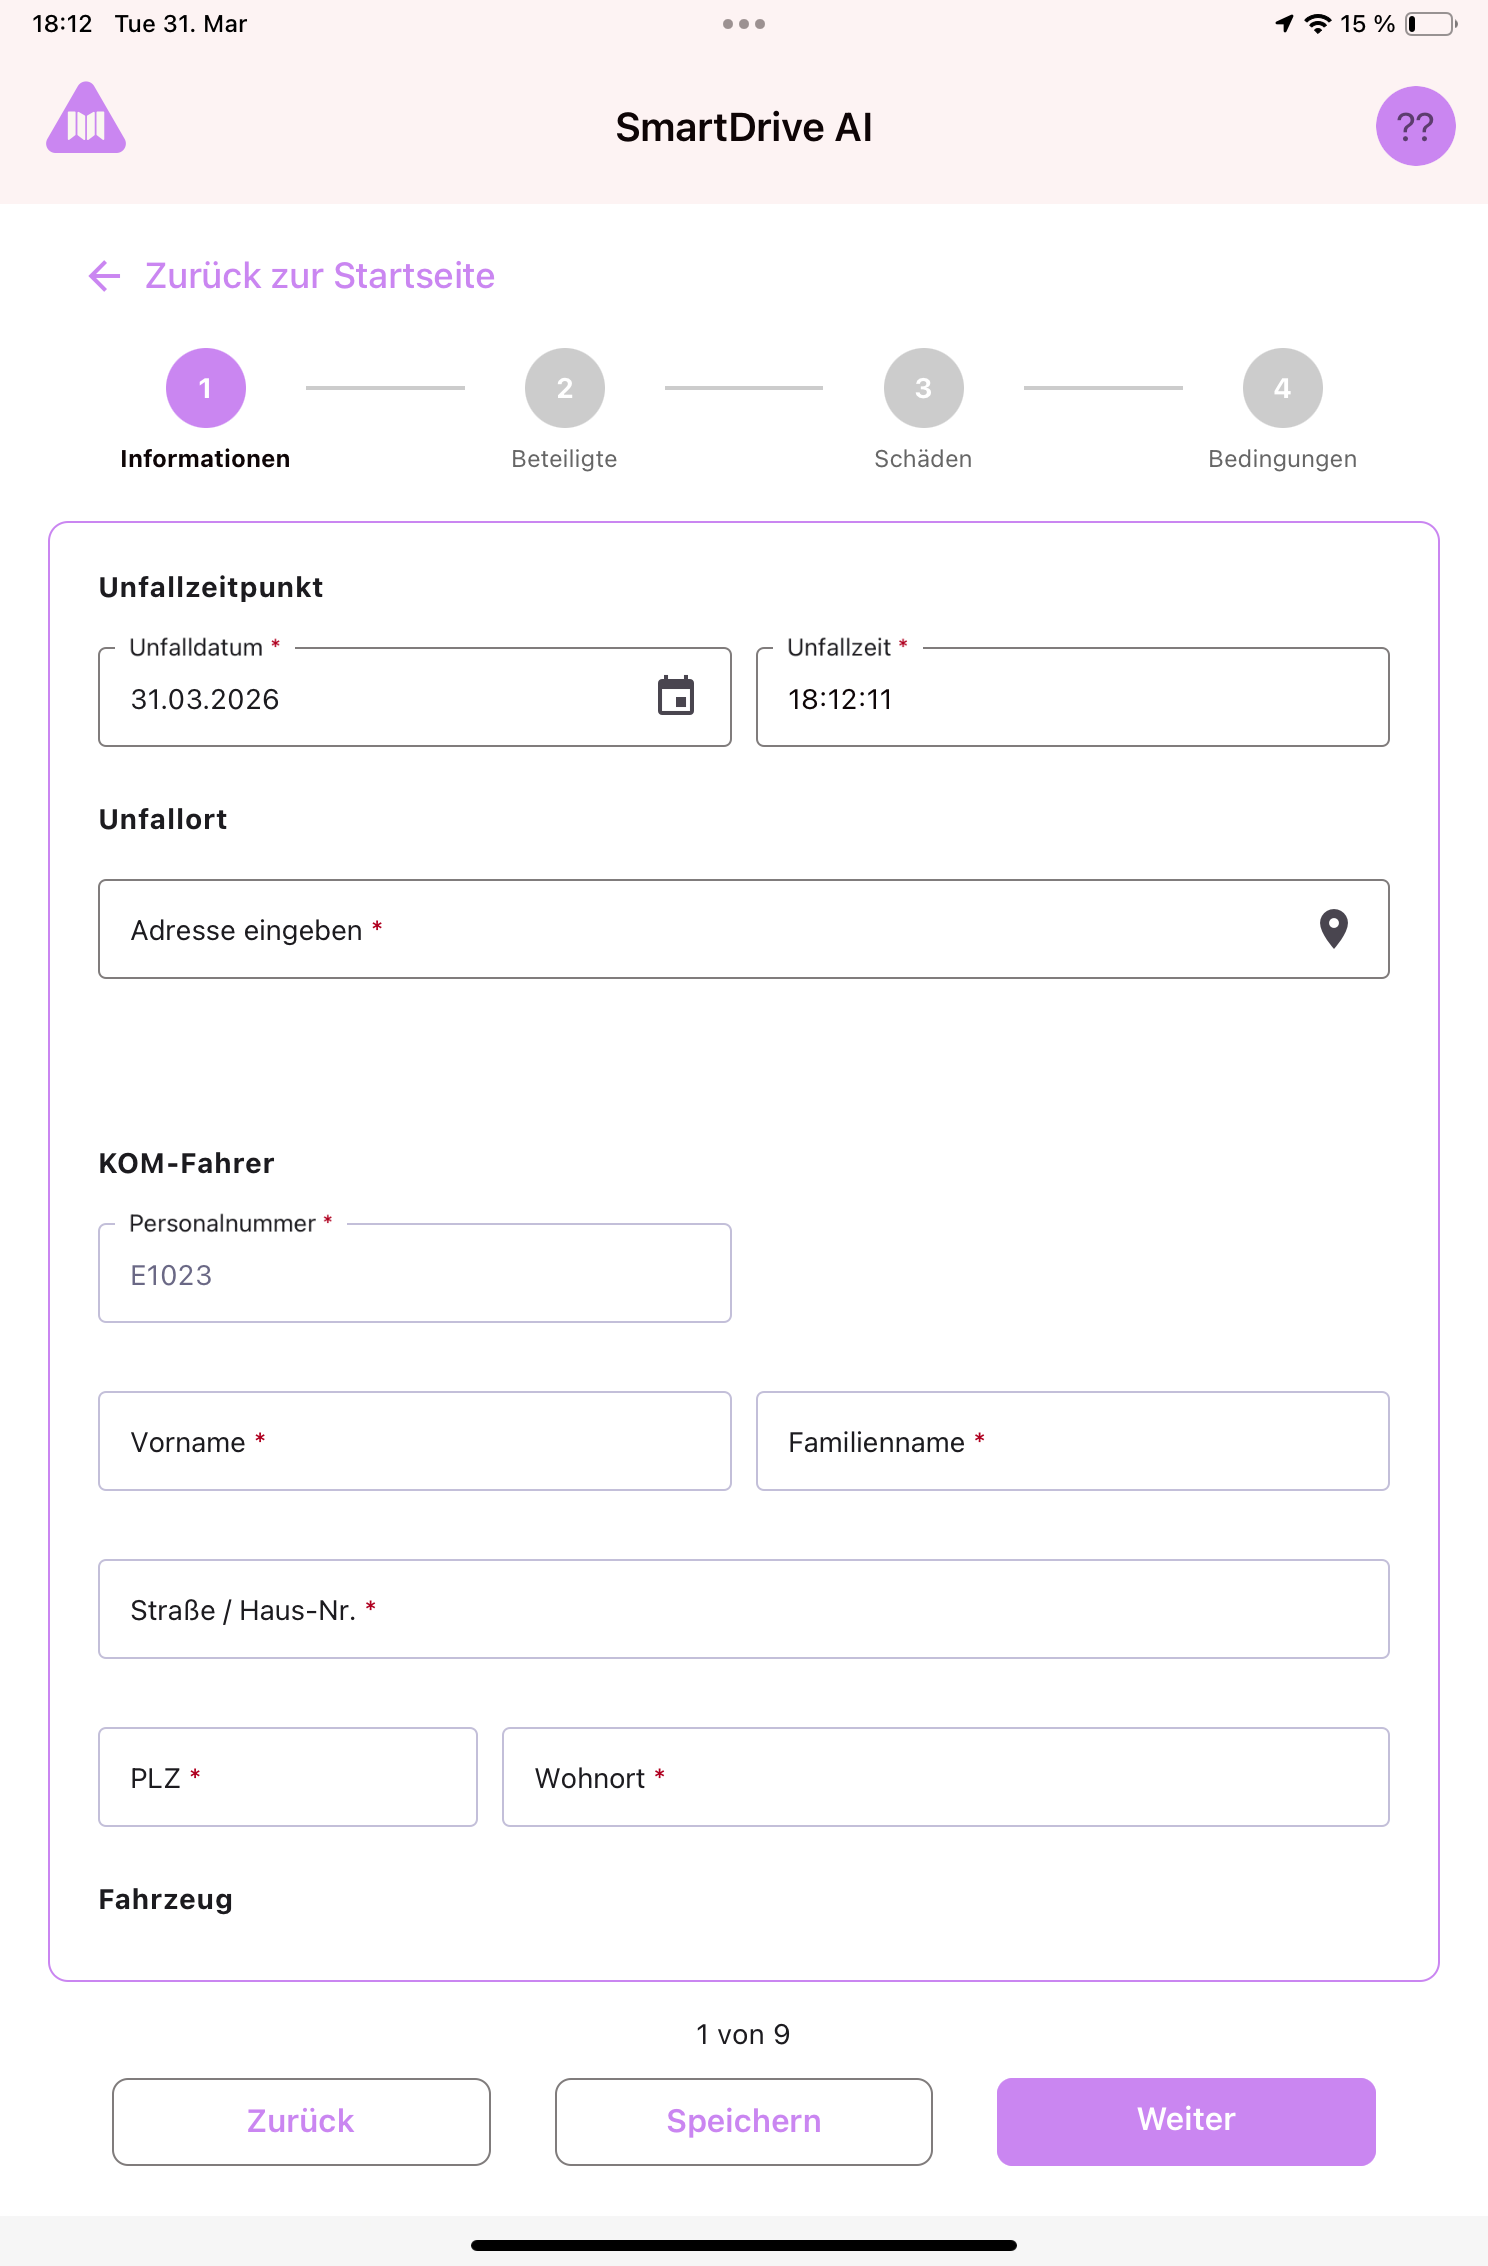
At the top of the screen you'll see a progress bar (stepper) with 4 steps: Information → Participants → Damages → Conditions. You are now on Step 1.
Accident time
- Date: Tap the date field to open a calendar picker. Select the date of the accident. It defaults to today.
- Time: Enter the time of the accident in HH:MM:SS format.
Accident location
- Address: Start typing the accident address. The app will suggest matching addresses. Select the correct one. If you have no internet, type the full address manually.
Driver information
- Your employee number, name, and address are automatically filled in based on your login. You do not need to type anything here.
Vehicle
- Tap the Vehicle No. dropdown to select your vehicle by license plate. The vehicle type, plate number, and manufacturer will auto-fill.
- Enter the route number and the odometer reading.
Damage area on your vehicle
- Tap "Edit Damage Area" to open a vehicle diagram. Draw on the diagram to mark where the damage is on your vehicle. Tap the close button when done.
Accident photos: 8 required angles
The app asks you to photograph the accident from 8 specific angles. Each angle has a label and a reference image showing what to capture:
- Close-up: close-up of the damage on your vehicle
- Front-left corner: front-left corner of your vehicle
- Front-right corner: front-right corner of your vehicle
- Rear-left corner: rear-left corner of your vehicle
- Rear-right corner: rear-right corner of your vehicle
- Opponent front-left: other vehicle, front-left
- Opponent rear-right: other vehicle, rear-right
- Opponent damage: close-up of damage on the other vehicle
How to take photos
- Tap the camera icon next to a label. The camera opens. Take the photo and confirm.
- Alternatively, tap the upload icon to select an existing photo from the gallery.
- A green checkmark appears when a photo has been captured for that label.
Tips
- Required fields: fields marked with a red asterisk (*) are required. You cannot proceed until all required fields are filled.
- Navigation: use the arrow buttons at the bottom to move forward/back. Tap any completed step in the stepper bar to jump directly to it. Tap "Save" at any time to save as a draft.
- Photo quality: make sure there's enough light, hold the iPad steady, and include enough surrounding area so the damage location is clear.
- Photos save locally and upload automatically when you have internet.
Still need help?
Get in touch with the SmartDrive AI team
Or email us at support-smartdriveai@mapular.com